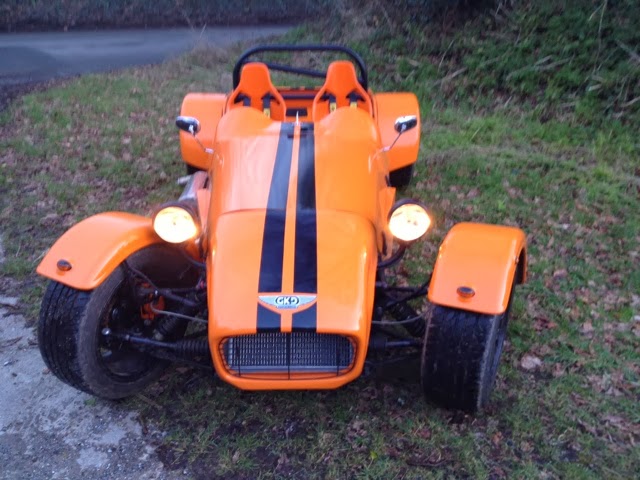
Saturday, 8 February 2014

First Trip Out


Greetings! A few notes on today's expedition - first proper trip out on the open road, and results of the MoT.


Been looking forward to this for some time...

Started early, the MoT slot was booked for 0800, so in order to get the legend dug out from the back of the workshop, had to be up there for 0600.
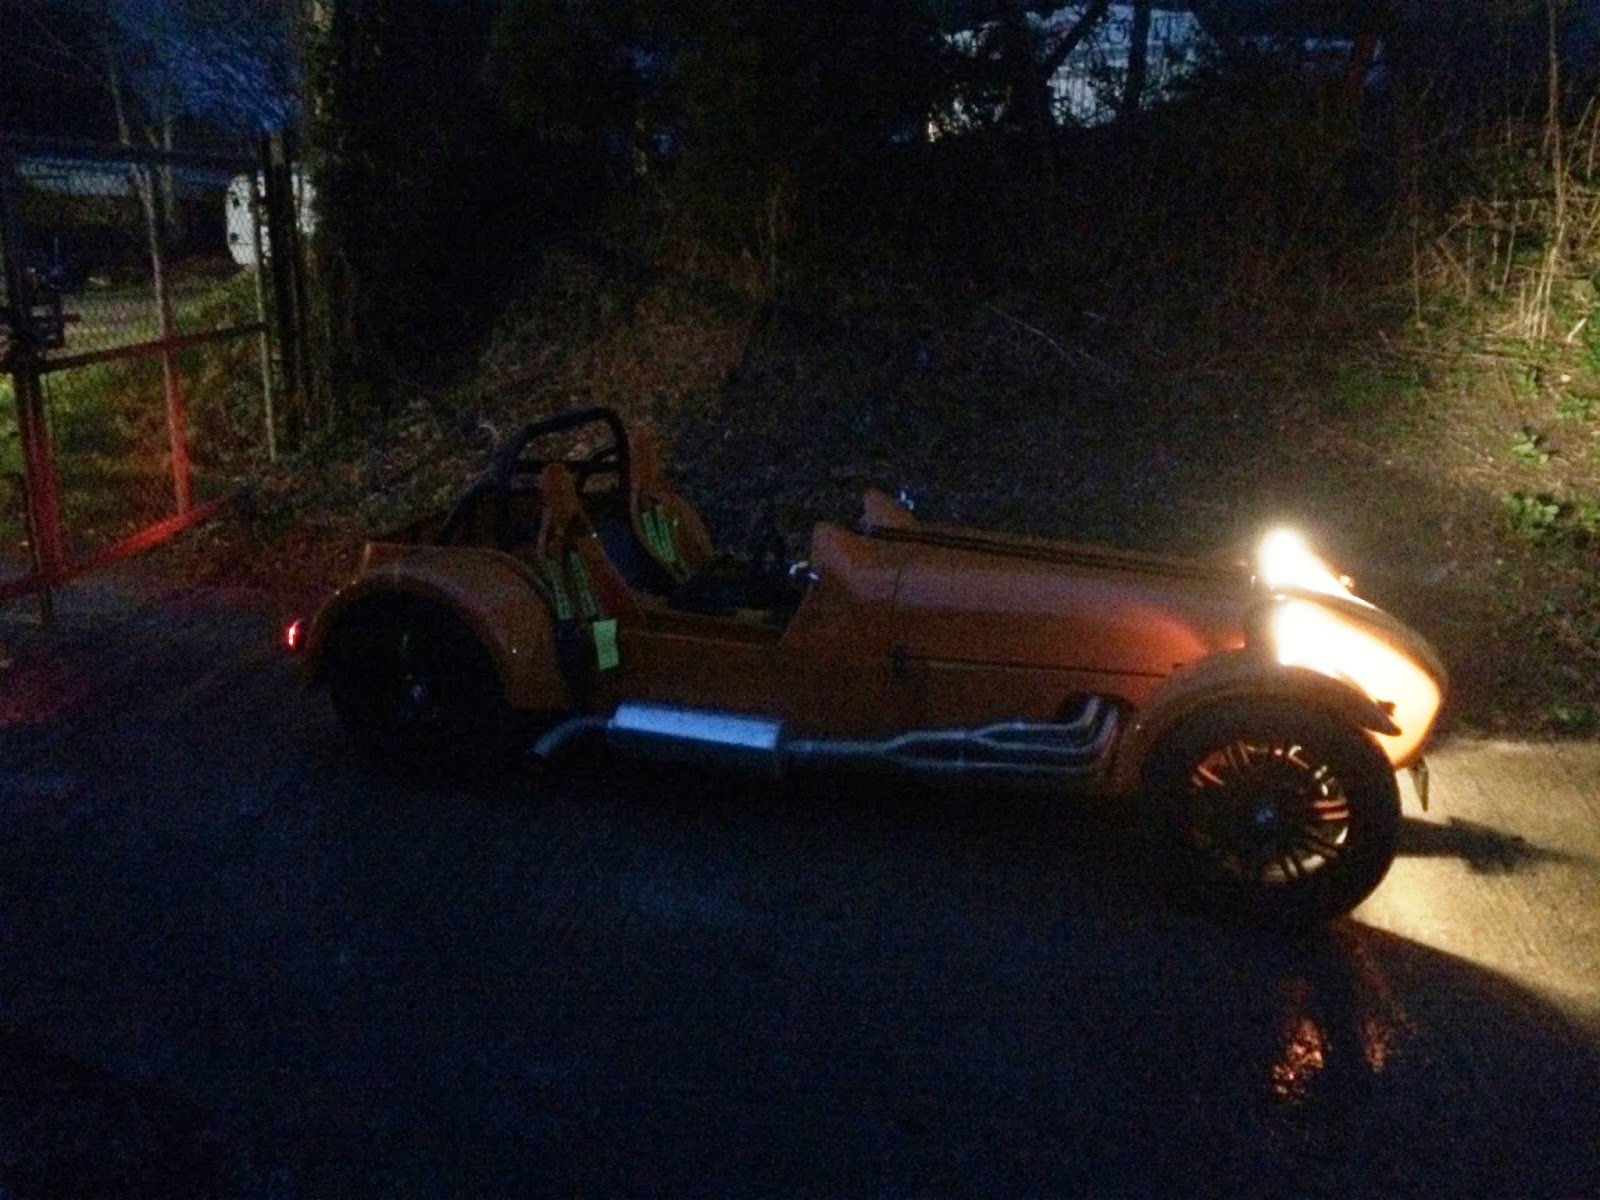


Still dark!
I picked up Trev who kindly offered to come along and try and look for things I might have missed. It was still early and the roads were very quiet - although it was raining hard and bitterly cold - we got absolutely soaked on the way there.


Arrived, cold, wet but exhilarated


Happy


The drive there was, indeed, pretty awesome. The car handles sweetly, the brakes worked perfectly, suspension wasn't too harsh or too soft (although the dampers need setting up) and the noise was awesome. However, the misgivings over the performance are still there - full throttle in 1st and 2nd gears gave nothing more than "above average" acceleration - it really should be knocking your socks off. Plus there was a bit of play in the steering as well. OK so onto the test then:


Pulled onto the ramp, both us and the car still dripping. We then spent the first 5 minutes trying to negotiate the car into the VOSA MoT computer system - kept getting an awful lot of "computer says no" due to their being no number plate, GKD not recognised as a manufacturer, VIN isn't yet applied via the DVLA etc. In the end he got around it by inputting the info manually.


First check - all the lights. Obviously, all fine. The headlight alignment, which is one of the main things I wanted the test done for, was also spot on; only a teeny tweak required to have them spot on. That's good news. 


Underbody check next -  few pickups here. One or two nylocs where there isn't much thread visible, most on the suspension uprights. Not a huge problem, just have to get some longer bolts. One of them is the lower suspension upright bolts, the 2 and 3/4" UNF bolts that you have to cut. Evidently I've cut them a bit too short; which is what i suspected at the time. Oh well, easy fix. No leaks or drips though, which is good.


Next was the wheel bearings, brakes (system appearance, function check comes later) suspension, Steering, exhaust, engine etc. etc. Few minor things, the O/S handbrake cable was a bit close to the spring, and the front brake flexis cable tied to the cycle wing brackets need a bit of rubber tube to prevent chafing, but otherwise OK. 

He did, however,  uncover a fairly major defect in the steering rack. There is now quite a bit of free play, and if you grab hold of the rack on the O/S you can wiggle the ball and socket at the end of the rack and pinion excessively. Might need to speak to Peter on this one, as I'm sure it shouldn't be like that; it's a brand new rack after all. Did make me drive a lot more carefully on the way home though!!


Next up was the biggest headache I think I will face - emissions. As you can see from the readout below, not looking too clever. CO was way up, two nearly three times the limit and lambda was way out. HC wasn't looking too bad though, so at least it's not burning oil.

First round, quite poor
 After it failed, the machine prompted him to do a more in-depth test. This entailed much more "settling", "conditioning" and "calibrating", all whilst at a fast idle and then some. It was at this point I discovered the cooling fan seems to be working OK, which is a relief!!! And if it can take that much abuse in terms of revving the nuts off it whilst it's stood still; should be OK for the IVA. 

After all this revving and the computer counting down from 200 seconds etc. The lambda worked itself back in and scraped into the green (not seen below) but the CO was still way off.


2nd time, bit better but still no pass.
So onto the last bit of the test - brakes.

Using the VIN plate weight as a guide he set it onto the rollers. The "service brake" e.g. the foot brake; was absolutely spot on. Balance front-rear was superb, and he recorded some decent kg figures (see below). Imbalance was only 7% and they all locked up, so a resounding happy feeling about the brakes being screwed together properly. Not quite the same for the handbrake though, poor efficiency on both wheels, as I suspected. I think it's do with the arrangement of the BMW cable into the VW caliper, and excessive travel in the lever - must try harder!! I know I'm out of adjustment on the cable so have to think of something else on that front.


And then finally, all finished.

Survived!


 So results / points for action:

Braking - front axle (n/s 188kg, o/s 212kg) pass
rear axle (n/s 166kg, os/ 169) pass
imbalance - 7% pass
Parking brake (n/s <20kg, o/s 83kg) FAIL.


  1. Play in steering rack (excessive)
  2. Nuts too short for nyloc x 6
  3. handbrake cable fouls on spring n/s only
  4. parking brake (low efficiency @8%, excess travel)
  5. steel braided brake hoses chafing on cycle wings
  6. Emissions

 Actually, a pretty good set of results I think. As a big bonus, and something else I was worried about, the  Cooling system worked well and the engine didn't overheat or complain the whole time.

And it had even stopped raining at that point, so the drive home was a little more enjoyable


Generally quite happy with progress, now need to think about how to address the issues.

Thanks for reading, see you next time.

Sunday, 2 February 2014

Finished... Actually, this time

Happy to report that I have indeed finished.

The last two jobs on the car before it's ready for the automotive equivalent of crufts... A throttle return spring and the front number plate.

The throttle wasn't quite returning to home properly, possibly because of the routing of the cable giving extra friction. So it was a simple case of drilling a hole in the throttle body and looping a strong spring around:

Spring in position, just below Throttle body at rest...

And at full stretch. Snaps back beautifully now, need to trim the extra coils off though.


And with a bit of aluminium plate, a hacksaw, some satin black spray paint and some rivnuts, the front number plate was mounted:


So that's it then!

First of the tests will be a bog-standard MoT, which is booked in for next Saturday. Hoping to learn what the brakes, headlights and emissions are like - pretty well the only things I can't check accurately myself.

Step 1 in getting the project roadworthy. Exciting times!

Sunday, 26 January 2014

Finished!!*

*well, almost...


So the time came this week, when I ticked off all of the tasks on the GKD construction checklist. That was quite the milestone and very satisfying indeed!! Just two jobs left on the snagging list now, a throttle return spring and a front number plate mount.

Before getting the biro out and getting tick happy, the last few remaining jobs were to paint and then secure the top aluminium panels from the transmission tunnel and into the boot. In the end I decided to use self tapping screws to secure them (pan head, so IVA friendly) as I'm convinced that I may have to look underneath them at some point soon. If not right away as part of an IVA fix, the for basic maintenance in the future, or if (when?) I get my M3 engine, so for the time being best temporarily installed.

Last of the panels, held down with self tappers. Not also the gearstick and handbrake gaiters, installed thanks to Emma and her cunning idea of wrapping them over the existing tatty ones and saving a headache of making up loads of inserts and templates. Handbrake handle re-painted too.

At this point the Viper stripes arrived in the post, and it seemed like a great time to install them. However, I didn't pay too much attention to the width when I ordered them online, and out of the packet they were a bit wide...

Ugly...


I was determined to have some sort of stripe to break up the orange, but two was too much, and one looked ridiculous...

even uglier...


So I gave up and went home.

During the next workshop session, I finally sorted the rivnut ends which poke into the cabin, and despite being behind the seat, would have probably failed the sharp edge test. Peter sent me some M8 nut covers which were precisely and exactly what I asked for, but wouldn't stay on all the threads as they are all varying lengths on the inside. So I made up a sort of hybrid from two types of nut cover/shroud. Doesn't look very elegant, but they now securely fix and will pass the test, so that's the main thing. If they *ahem* fall off afterwards, well, I won't try too hard to put them back on.


Enthused and inspired by a few days rest I headed back to look at the stripes again. I decided that I need to see exactly what width would suit the look of the car to make an informed decision. Th 6" strips were too wide for the sleek and narrow lines of the car, but what is the goldilocks width? Queue experiments with gaffer tape ( Peter you'll be delighted to guess which type of tape)


2"" - too narrow

3"" - perfect!

And being handily half the width of the black vinyl, one cut down the middle to turn one 6" length into two 3" ones. Great. It was made to be. Only that's easier said than done, as the first attempt with a Stanley knife and a plank of 2x4 as a straight edge was not very pretty! Take two, with a craft scalpel and a steel rule was much better though.

After  several videos on YouTube I decided that applying them is actually not that difficult, and very doable DIY task. Don't be put off, have a go, you will surprise yourself. Spraying soapy water on the strips and then squeegy-Ing out is the trick, and it works like a charm,

End result:


Ad then the front:


Overall I'm delighted with how that turned out, really transforms the look of the car!

So that is pretty much it - can't squeeze many more blog entries out of the build because its done! So in that case ill better look at how to get over the next hurdles then...

Hoping to take it for an MoT next week, it's insured on the chassis number now, and I have in writing from both VOSA and the insurer that its ok to take to a Pre-booked appointment such as an MoT or IVA. I hope to learn about the status of the emissions, headlights and braking, as well as having a 2nd opinion on the build quality. Fingers crossed! 


quick video of the finished car, took it before I put the stripes on though

http://www.youtube.com/watch?v=fESiclezk4A&list=UUCkEXGW29NLu52DEI8kmx8A


LINK

Thanks for reading see you next time!


Sunday, 19 January 2014

Last Piece of the Puzzle

Hi Everyone

So the greatly anticipated final component has now arrived...

Any guesses what's inside?
Before we unwrap the shiny gifts, need to focus on a water leak coming from the front of the engine. It's been bugging me for some time, and I assumed it was the core plug that had corroded. Upon closer inspection I was wrong (which is a good thing, because the core plug they sent me was the wrong one anyway, think they sent the much bigger one for the back of the head). See not-very-high-quality-pic for what was wrong:


Thermostat housing - note the pink crystallised coolant around the edges.

Upon further inspection, it was actually found to be cracked. So off to GSF for a replacement - bit shocking, a plastic casting (£15) a thermostat (£15) and the o-ring and a tube of hylomar came in at nearly £50!!


Still, necessary evil. Don't think the IVA inspector would be too chuffed with getting dripped on continually during the test. Fortunately the whole job was very straightforward, the longest way home was mopping up the floor from where the coolant missed the bucket and ended up everywhere :)

So, onto fitting the roll bar. I offered it up and all seemed to be in order - another nice piece of fabrication, very impressed. However, underneath there seemed to be no way to get it centralised in the car, and avoid the nuts underneath fouling on one of the upper suspension mounts. In the end, I decided to get one side OK and worry about the other.

The "worrysome" side would then need some attention from the grinder - just taking the edges off the weld to allow the nuts to clear.

Carefully ground away a bit of the corner pieces/welds to allow the roll bar nuts to clear; without removing too much strength from the bracket
And then, hey presto it fits:


Included in the kit was the Tonneau cover I ordered - really finishes the back end off, I like it

However, few slight snags for me as I fitted the rear cycle wings level with the top of the tub. I wanted it to look flush as well as give me scope for lowering the vehicle to its lowest (arguably too low there, need to raise it up a tad) but that means I can't fit the poppers around the side. I'll need a cunning fix for that, and Emma (seamstress extroadinaire) has a few ideas, so we'll see. I might well wait until after IVA as it's not needed. Plus, knowing my luck I'll introduce another rule-breaking complication such as lethally sharp vinyl that will cut your head off or some such nonesense.

I also fitted the legally-binding contract of  "thou shalt not twiddle with the brake bias" in sticker form

Won't be touching it. Honest guv. Oh and need to stick my skateboard non-slip tread back on the clutch pedal as it appears to have fallen off
So that was the weekend's work - not bad at all. In fact, there's not too many weekends left now I shouldn't wonder!


Looking at the various lists, need to seal and secure the remaining aluminium panels and the boot floor, and that's the car 100% built according to GKD instructions. (hurrah)

On the snagging list, just a few jobs remaining, mainly IVA stuff like the odd nut cover and sharp edges, need to check the mirrors have the right field of vision (from backing it in and out of the garage I've got a nasty feeling they are too low on the scuttle), need to fit a throttle return spring as occasionally the pedal sticks slightly, and find a way of mounting a front number plate (any ideas on this? I've got a holder like on the back)

Then I'll have to book a test!! I'm thinking that in the next few weeks I'll take it for a regular MoT and they can tell me if the brake balance, brake effort, headlight beam heights and emissions are OK, rather find out that and fail a £20 MoT then the £450 test... although I'm certain failure, first time, is always an option for the biggie...

To end... Some pics of the car looking very handsome. Thanks for reading!